Introduction
When you want to fold but have no safe tiles, “No-Chance” serves as a guiding principle, just like “Suji” from the previous article.
By understanding No-Chance, you can find safer tiles against opponents’ riichi.
What is No-Chance?
No-Chance refers to a situation where all 4 copies of a particular tile are visible to you.
This allows you to deny certain ryanmen waits entirely.
What “Visible” Means
“Visible” specifically refers to any of these situations:
- In your hand
- Discarded in the river
- Exposed through someone’s call or closed kan
- Visible as the dora indicator
Literally, it means tiles you can see with your own eyes.
The Principle Behind No-Chance
Understanding Through Example
For example, if you hold 1 copy of 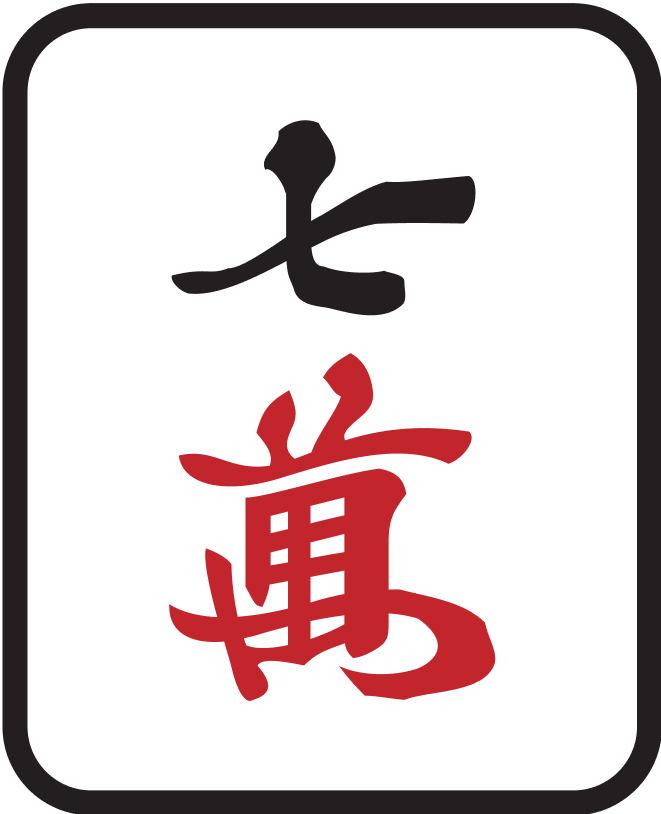 , 2 copies are in the discard pile, and the player to your right has called
  , then all 4 copies of
  are visible.
Since the location of all 4 copies is known, no other player can have  in their hand.
This means when an opponent declares riichi, there’s zero possibility they’re waiting with a 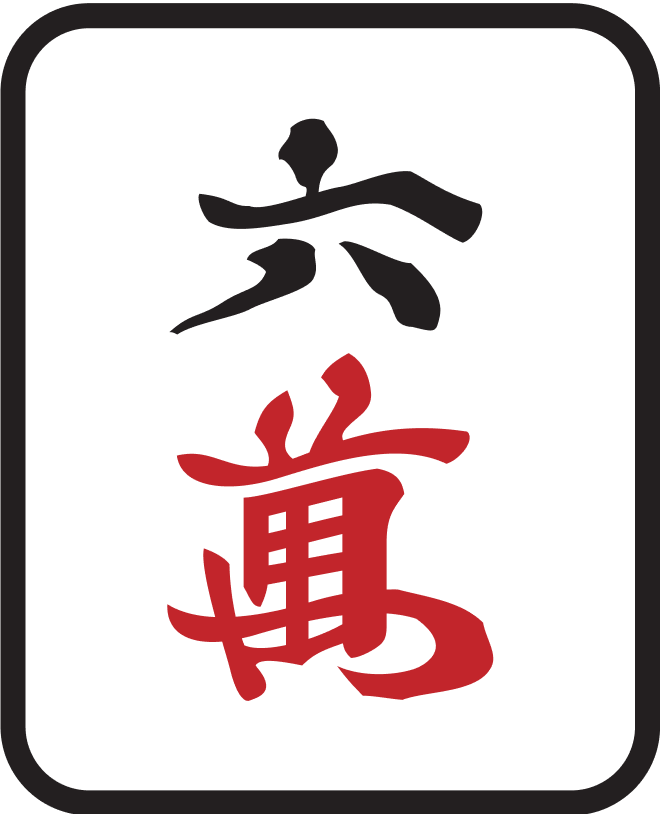
 or
or 
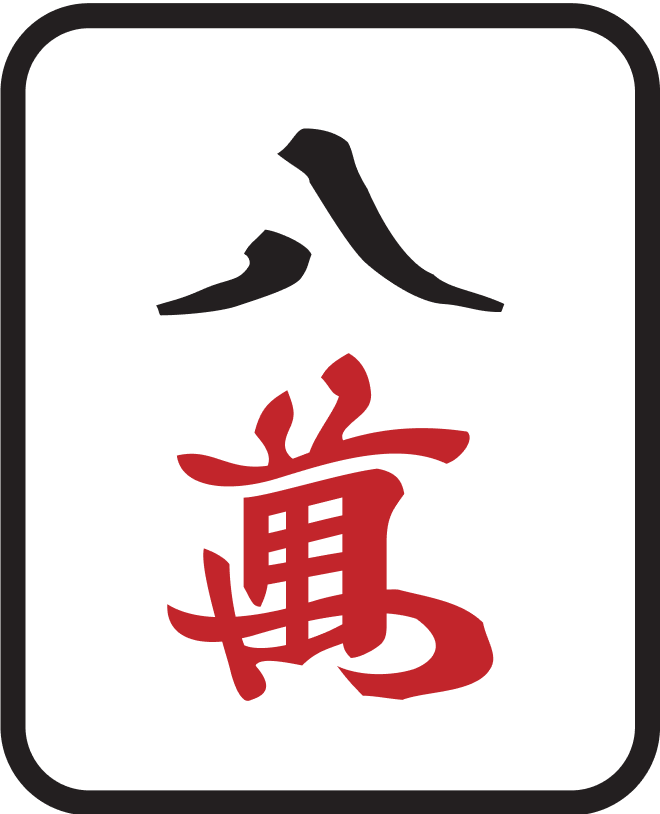 ryanmen shape.
In other words,  and
and 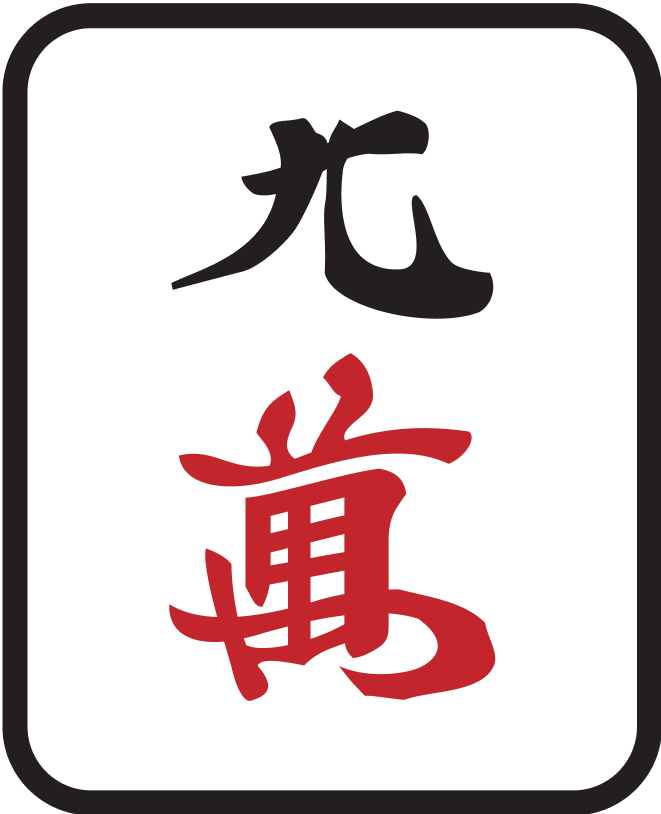 won’t deal into a ryanmen wait, increasing their safety.
The Expression “Kabe” (Wall)
This situation is also expressed as “there’s a  wall (kabe).”
It’s imagery of the wall blocking sequence formation.
Kabe (wall) is also used as a collective term for No-Chance (4 visible) and One-Chance (3 visible). Tiles outside the wall are treated similarly to honor tiles and can be used to find safe tiles.
The Effect of No-Chance
Denying Ryanmen Waits
When there’s a  wall, the only patterns where discarding
  or
or  would deal in are shanpon wait or tanki wait.
If 3 copies of  or
or  are already visible, even those possibilities are eliminated, making it nearly a guaranteed safe tile (the only exception being kokushi musou waiting on
  ).
).
The Concept of “Honor-ification”
When No-Chance makes a tile unusable for sequences, that tile takes on properties similar to honor tiles.
For example, in a situation where all 4 copies of 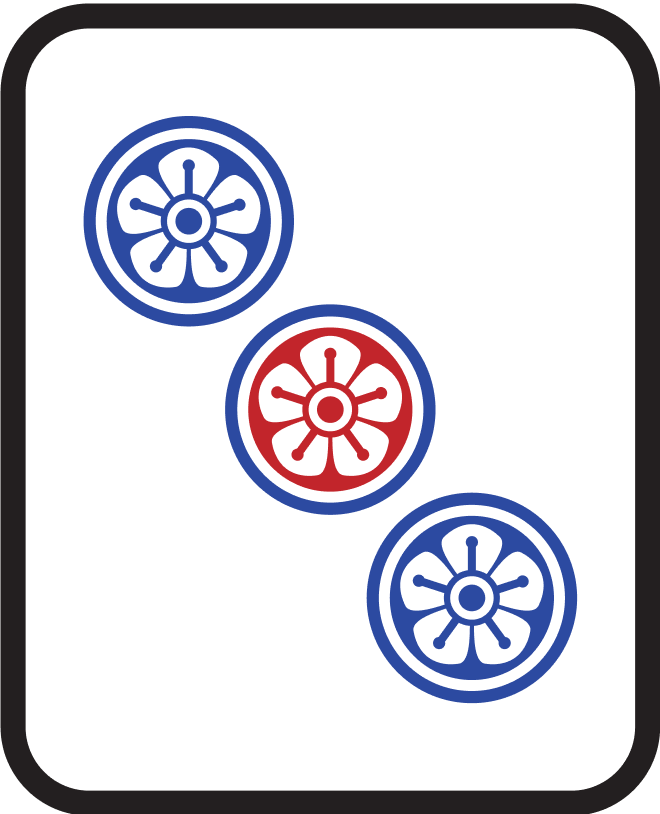 are visible (No-Chance),
  and
and 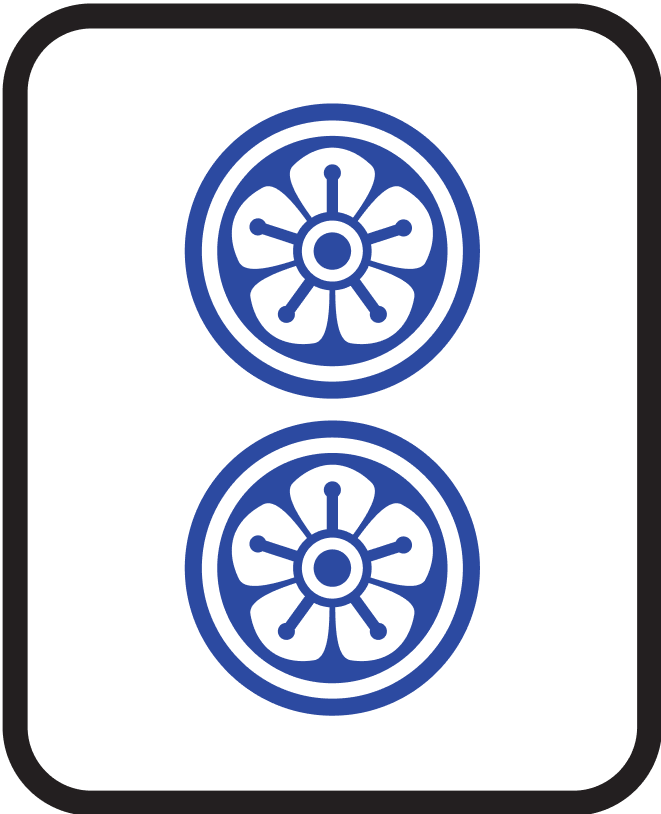 can only be used for:
- Triplets:


 or
or 


- Pairs:

 or
or 

Since sequences like 

 or
or 

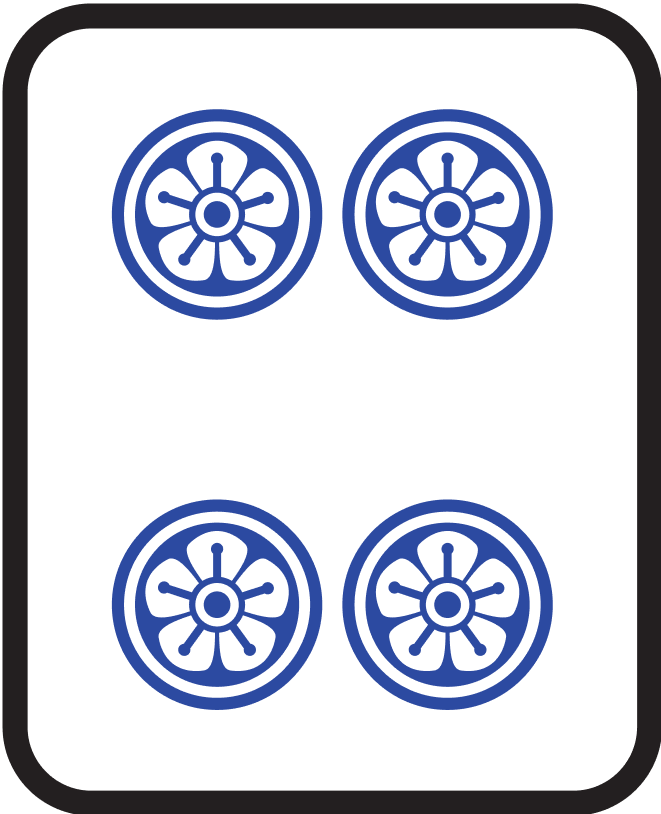 cannot be formed, these tiles become useful only as triplets or pairs, just like East or White dragon.
Tiles with such limited uses are less likely to be held by opponents, making them treatable as safe tiles.
All No-Chance Patterns
Here are all the No-Chance patterns:
| 4 Visible Tile | Safe from Ryanmen | Notes |
|---|---|---|
4× 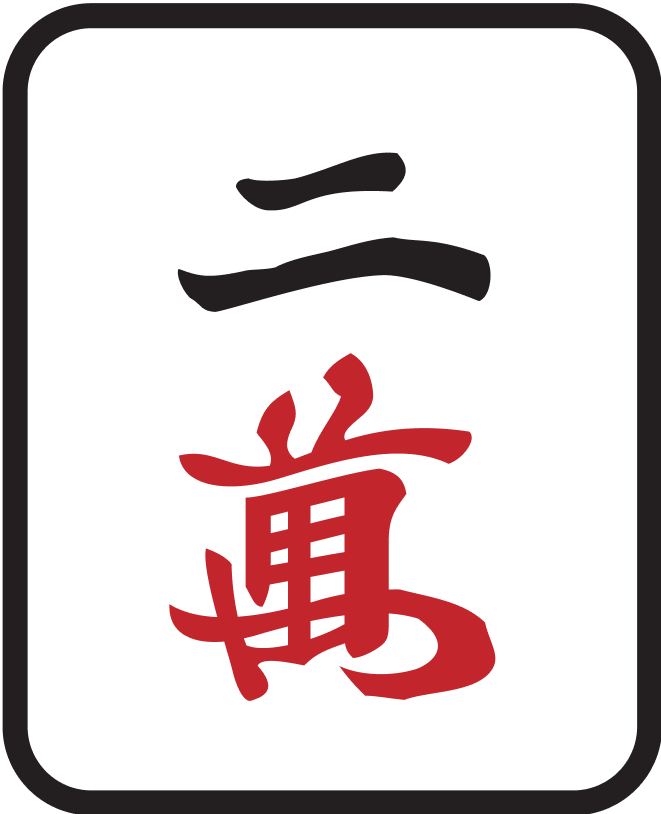 | 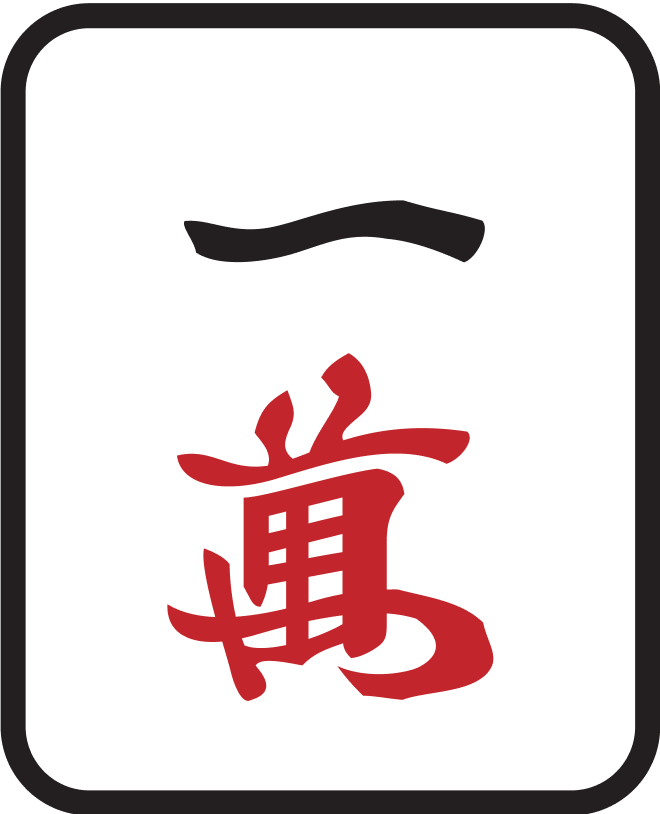 |  wall increases wall increases  safety safety |
4×  |   |  wall makes both sides safe wall makes both sides safe |
4× 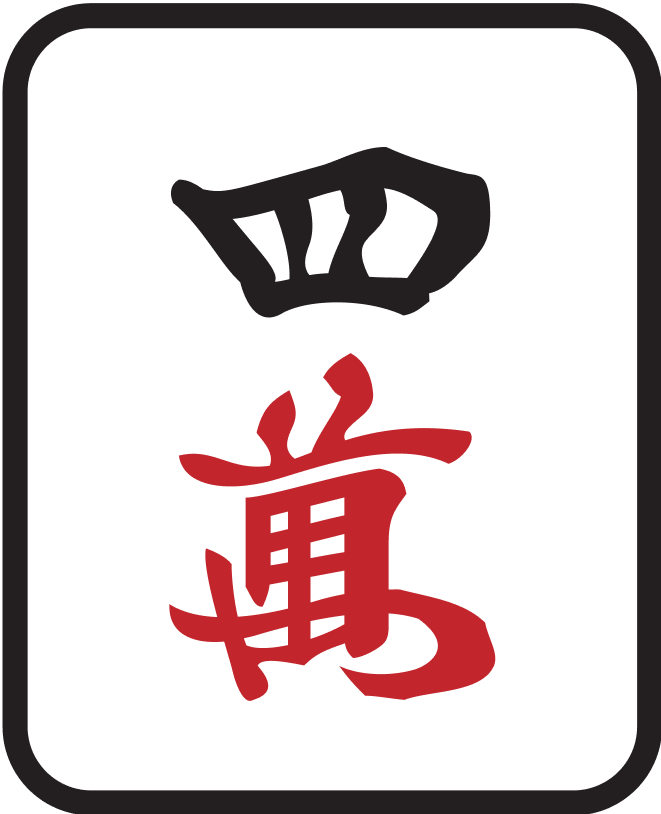 |   | Closer to center = greater effect |
4× 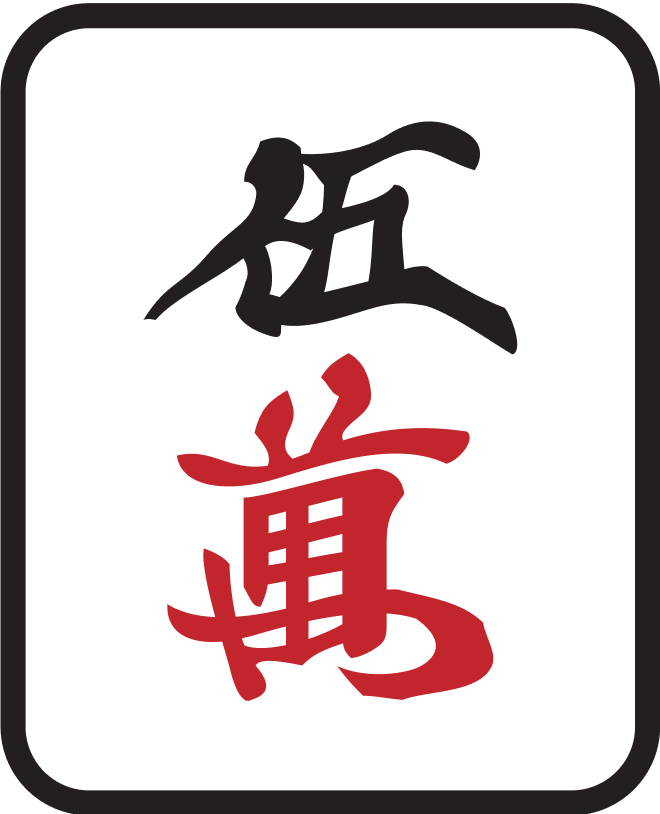 |   | Center wall affects wide range |
4×  |   | Closer to center = greater effect |
4×  |   |  wall makes both sides safe wall makes both sides safe |
4×  |  |  wall increases wall increases  safety safety |
Combining Multiple Walls
Expanding the Safe Range
When multiple “walls” exist, considering them together can increase safety even further.
For example, if both  and
and  have all 4 copies visible:


 won’t deal into ryanmen waits, and additionally,
  and
and  also won’t deal into ryanmen waits.
The Logic Explained
For  to deal into a ryanmen wait, the opponent would need to be waiting with
 or
or 
 shapes, but since all
  and
and  are visible, that possibility is zero.
 follows the same logic — the possibility of dealing into a ryanmen wait is eliminated.
Combining Suji and No-Chance
Advanced Application: Combined Reading
Combining “Suji” and “No-Chance” can reveal relatively safe tiles.
Specific Example
Suppose the riichi player has discarded  . The suji tile of
  is
is 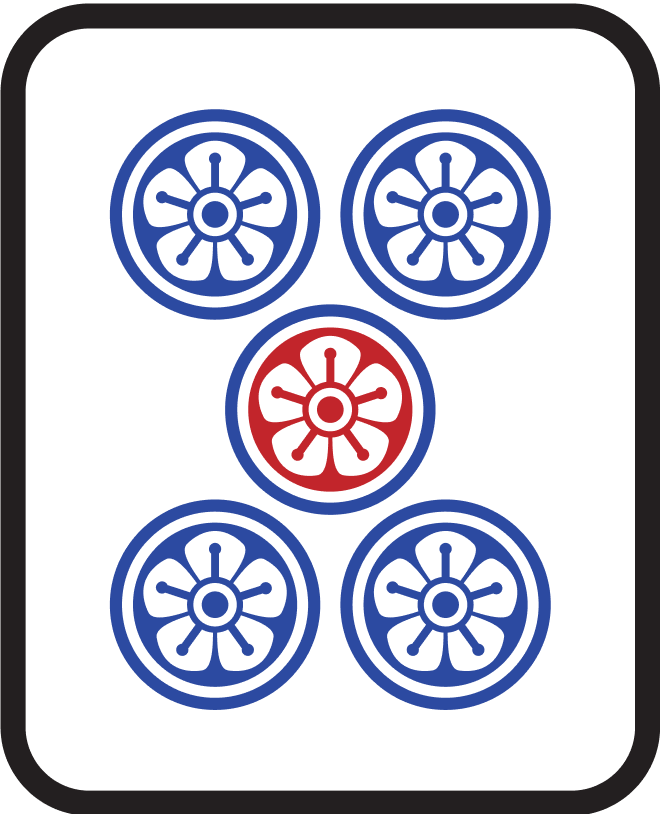 , but with just this information,
  isn’t safe — the possibility of a
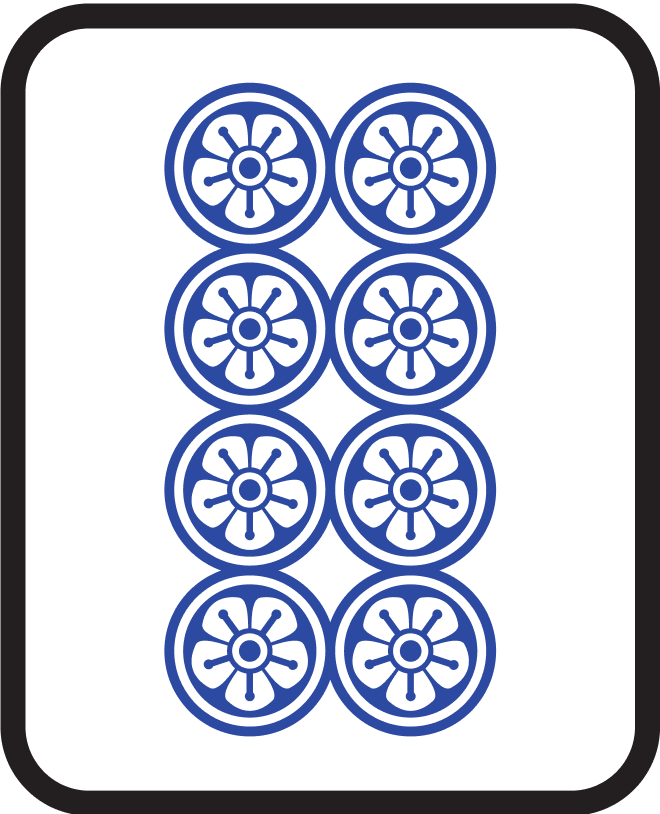 ryanmen wait remains.
However, what if 4 copies of 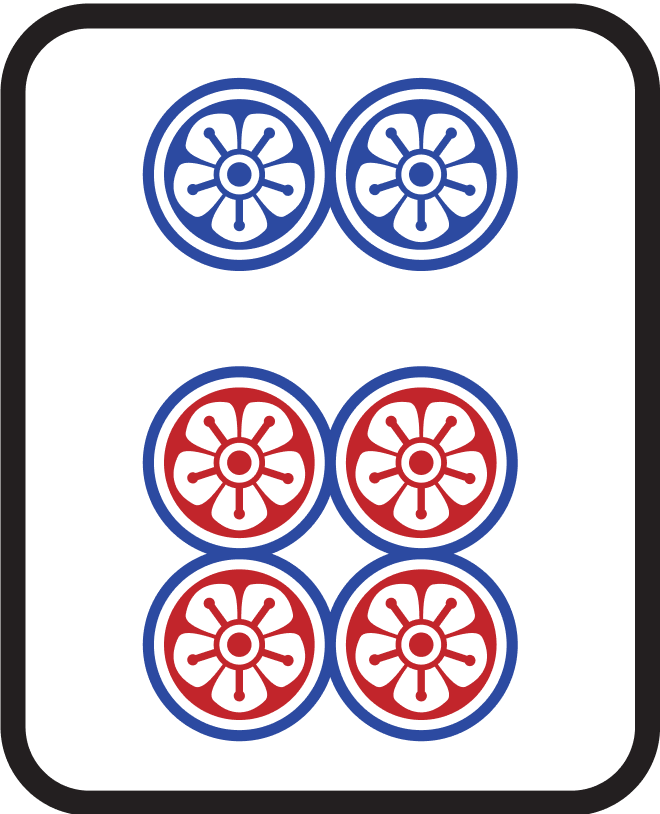 or
or 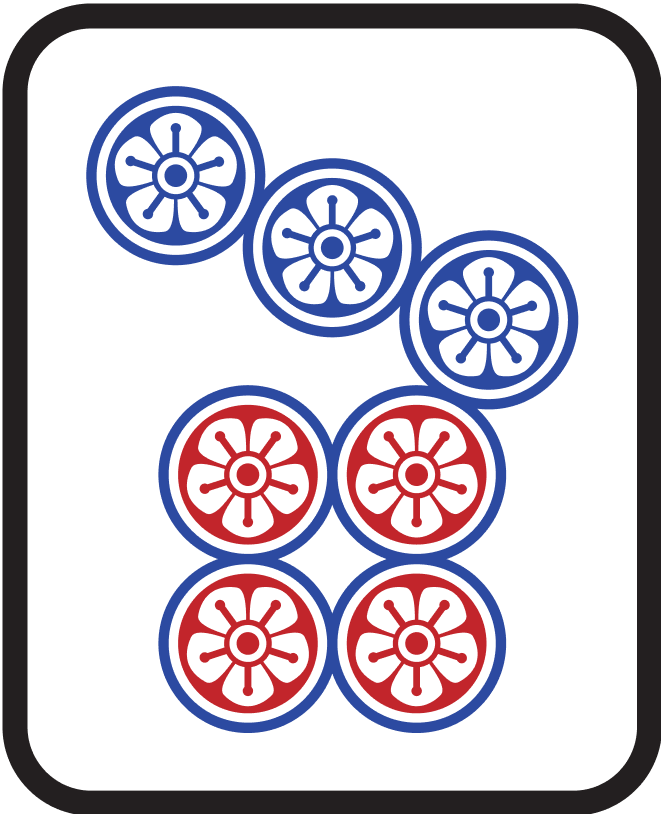 are also visible? With the wall present, the possibility of a
 ryanmen wait is eliminated.
Effect of Combined Reading:
- A:
 has been discarded → Won’t deal into
 ryanmen wait
 - B: 4 copies of
 or
or  are visible → Won’t deal into
 ryanmen wait
Combining both pieces of information, we can say “ won’t deal into any ryanmen wait.”
The Value of No-Chance
Using It as Certain Information
Mahjong is a game with many “unseen pieces of information,” but knowing that “all 4 copies of a tile are visible and none remain in opponents’ hands or the wall” is certain information that can be relied upon for both offense and defense.
It’s like a lighthouse shining brightly in a foggy sea.
Important Notes
Waits That No-Chance Doesn’t Cover
No-Chance is a technique for denying ryanmen waits, but it doesn’t work against:
- Kanchan wait: Partially effective
- Penchan wait: Effective
- Tanki wait: Not effective
- Shanpon wait: Not effective
Advanced Players’ Counter-Tactics
Intermediate and advanced players sometimes exploit Suji and No-Chance to steal wins from opponents.
For example, riichi with a  or
or  wait in chiitoitsu when all 4 copies of
  are visible, creating a wall.
Since Suji and No-Chance are popular defensive references, offensive exploitation is naturally possible.
Mental Preparation When Dealing In
Treat It as a Learning Opportunity
When you deal in, instead of thinking “It was supposed to be safe… argh!”, consider it a valuable learning example and think “So in this case, even No-Chance can deal in” and apply that knowledge going forward.
In mahjong and in life, nothing good comes from getting frustrated…
Related Terms
- Suji: Reading safe tiles from riichi player’s discards
- One-Chance: 3-tiles-visible state
- Kabe (Wall): General term for visibility-based defense
- Anzen-hai (Safe tile): General term for safe tiles
- Genbutsu: 100% safe tiles
Summary
No-Chance is a defensive technique where having all 4 copies of a tile visible denies ryanmen waits using that tile, increasing the safety of surrounding tiles.
Combining it with Suji enables more precise defense.
As a guiding principle when folding, make sure you can reliably count No-Chance situations.