Introduction
“One-Chance” refers to a situation where 3 of a particular tile are visible (in discards, calls, or your hand).
While not a guaranteed safe tile, it provides valuable defensive information useful for push-fold decisions.
What is One-Chance?
The 3-Tiles-Visible State
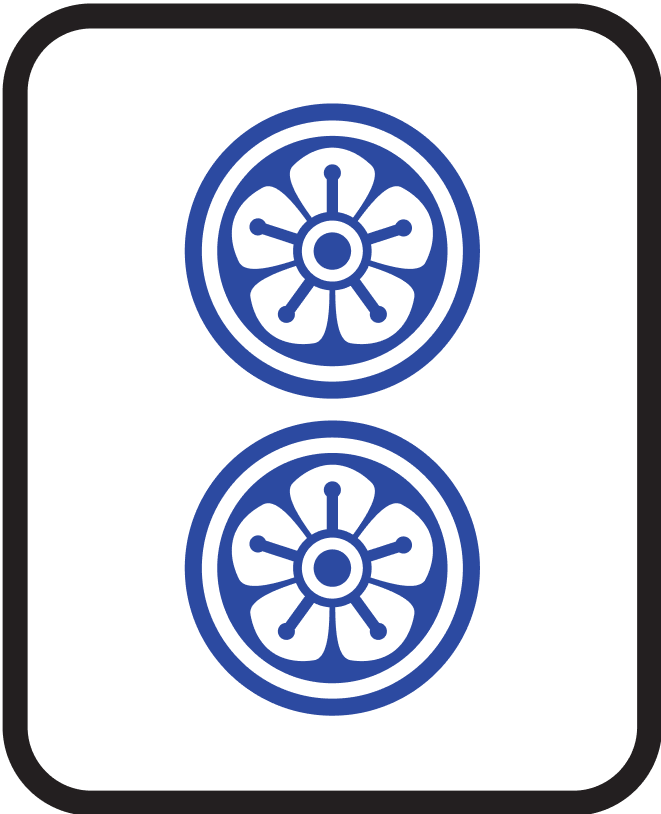
Imagine 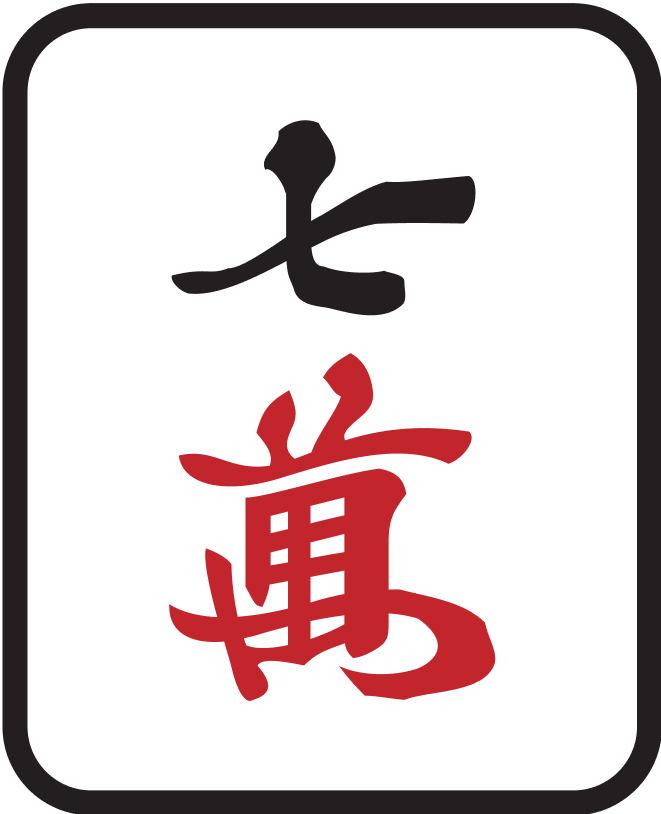 is visible 3 times, and an opponent declares riichi.
Dealing into a ryanmen wait with 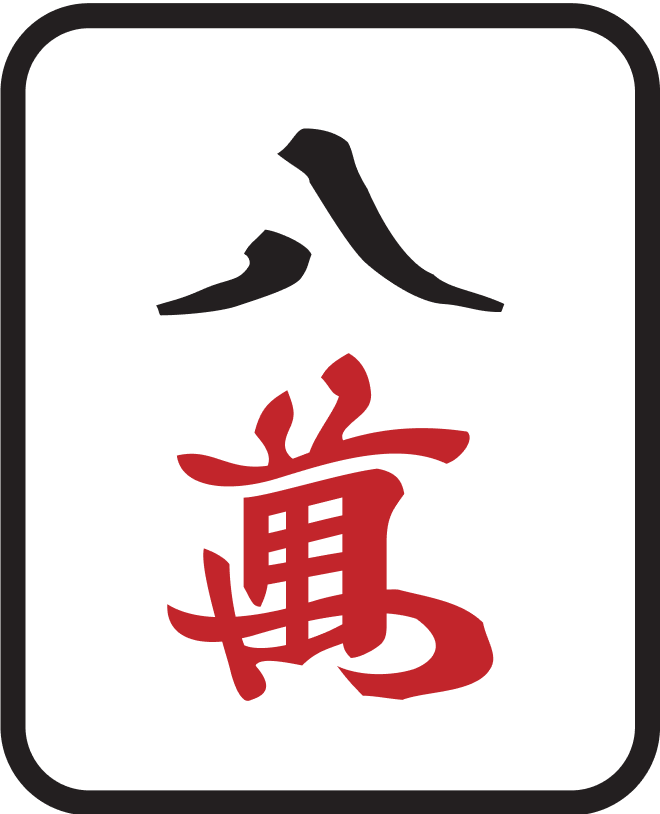 or
or 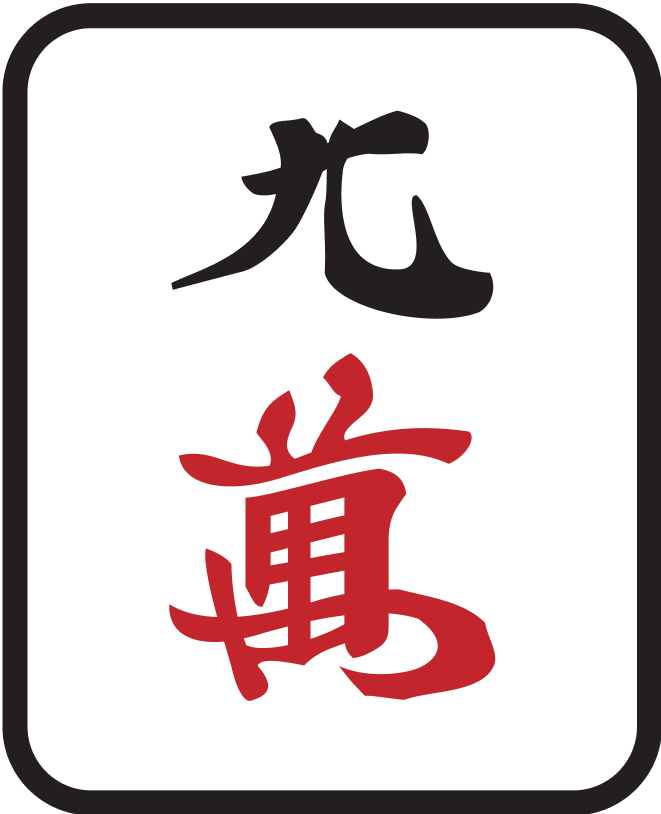 would only happen if the riichi player has the remaining 1 copy of AND it’s part of their final ryanmen wait shape.
Probabilistic Thinking
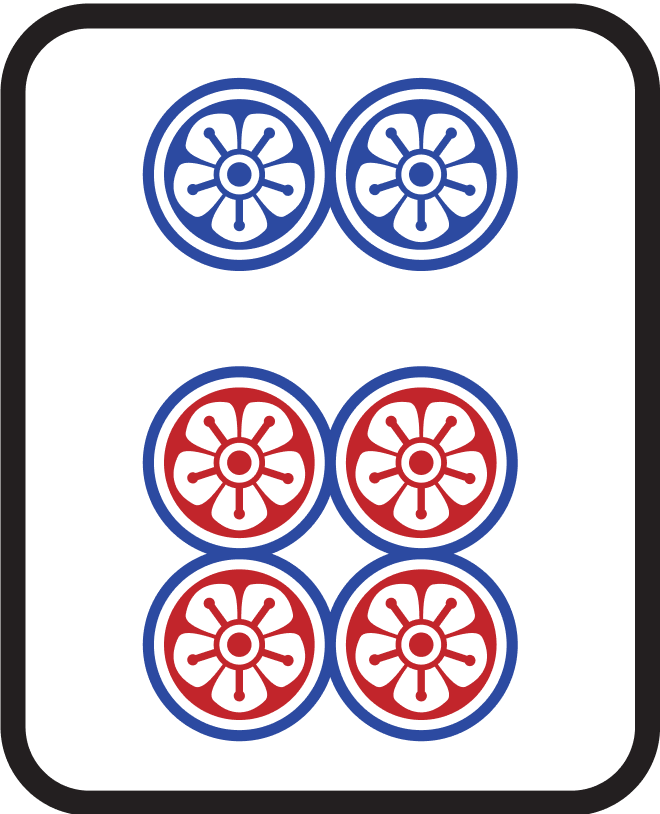
While the opponent might have that , if they hold it as part of a completed sequence like 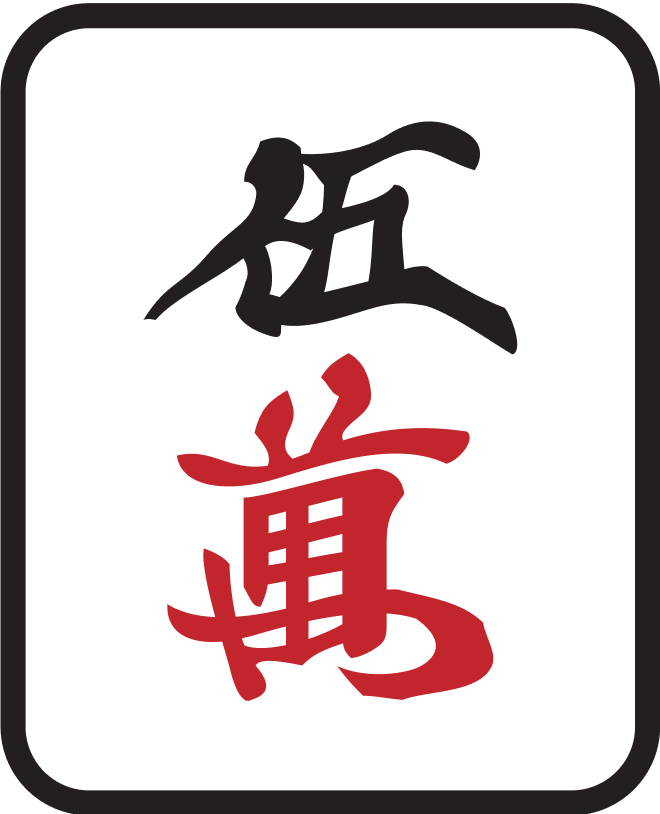
 or , then or won’t deal into a ryanmen wait.
Thinking this way, we can conclude that or are slightly safer than tiles with no information at all.
How to Use One-Chance
As a Push-Fold Criterion
When you’re in a borderline situation, you can use One-Chance as a decision point: “I’ll fold if I draw a completely dangerous tile, but I’ll push if I can discard a One-Chance tile.”
Specific Use Cases
One-Chance becomes a useful factor in situations like:
- You’re tenpai and one tile away from winning
- You have few safe tiles against opponent’s riichi
- Point situation requires you to push
- It’s still early in the round, so deal-in probability is relatively low
Combining Suji and One-Chance
Combining Reads for Higher Safety
One-Chance can be combined with Suji for even better reads.
Example:
- A:
 has been discarded → Won’t deal into
 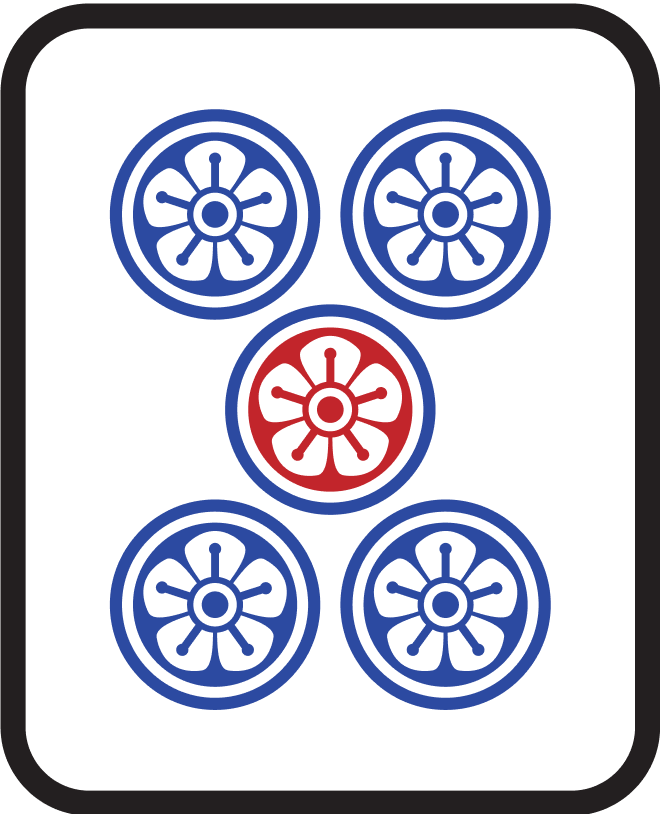 ryanmen wait
 - B: Three
 or
or 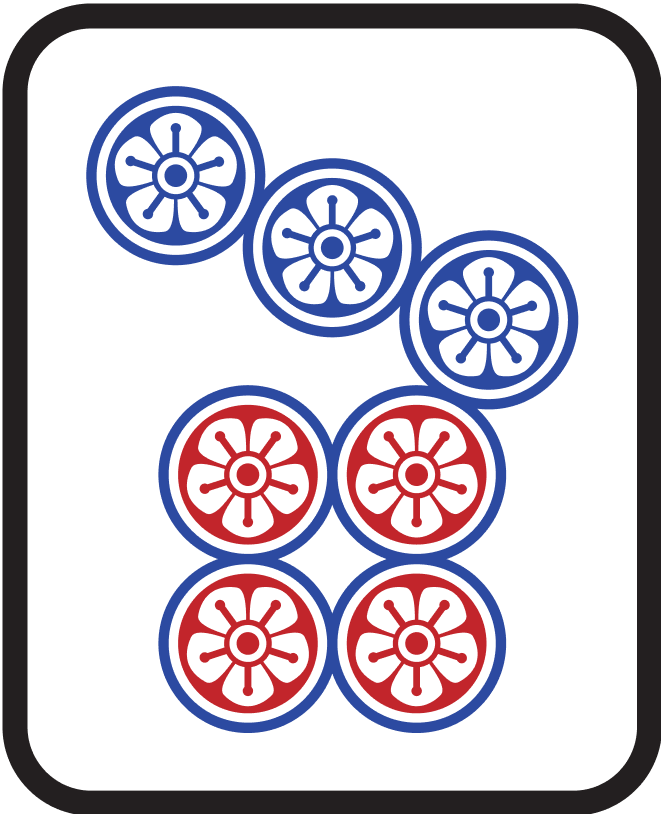 are visible → Dealing into
 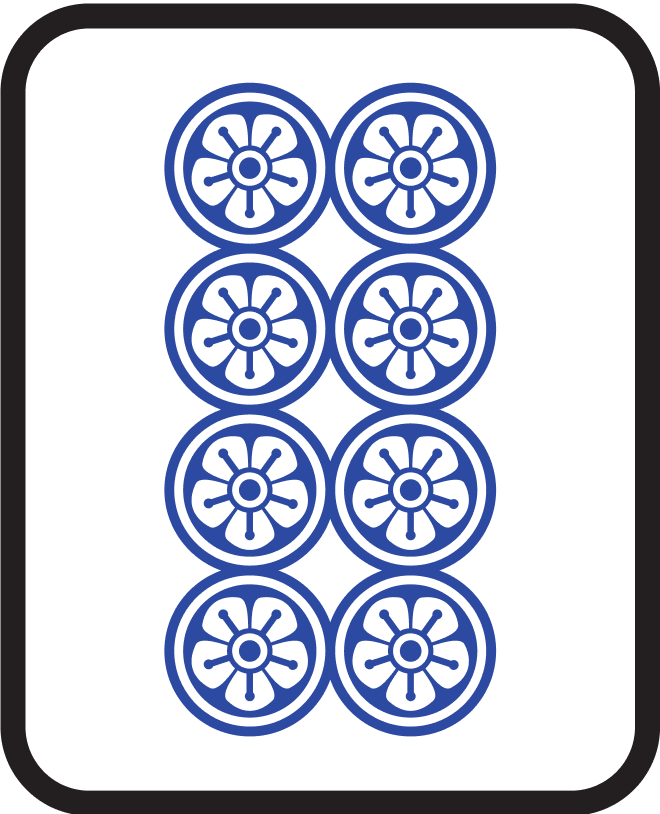 ryanmen wait is One-Chance
This combination tells us has somewhat higher safety.
Limitations and Cautions of One-Chance
It’s Not a Safe Tile
Remember: One-Chance is NOT a safe tile.
Keep these points in mind:
- There’s still a possibility of dealing into a ryanmen wait
- You can still deal into kanchan, penchan, tanki, or shanpon waits
- The opponent might have the remaining 1 copy
Decreased Safety in Late Game
Especially in the late game, when many tiles have already passed safely against a riichi and the possible wait types have narrowed down, One-Chance safety decreases.
For example, if the riichi player’s wait is narrowed to about 2 types, the probability that a One-Chance tile is one of those waits increases.
Example: Late Game Danger
Against a riichi on turn 15:
・Already safe tiles: 20+ types
・Remaining dangerous tiles: Only a few types
→ Even One-Chance has a higher chance of dealing in
Mental Preparation
Don’t Get Frustrated When You Deal In
One-Chance only means it’s less likely (not impossible) to deal into a ryanmen wait — there’s still risk.
If you deal in on Suji, No-Chance, or One-Chance, don’t get frustrated or flustered.
Treat It as a Learning Opportunity
When you deal in, instead of thinking “It was supposed to be safe… argh!”, consider it a valuable learning example. Think “So in this case, even One-Chance can deal in” and apply that knowledge going forward.
In mahjong and in life, nothing good comes from getting frustrated…
Advanced Technique: Exploiting One-Chance
Turning Defense into Offense
Intermediate and advanced players sometimes exploit Suji and One-Chance to steal wins from opponents.
Example:
- Three
 are visible, and you riichi waiting on
 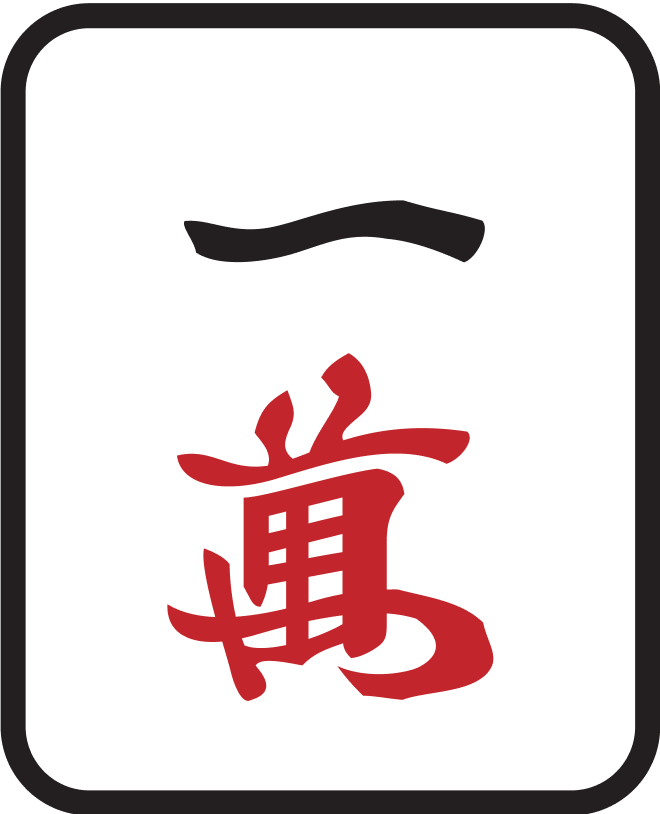 or
or 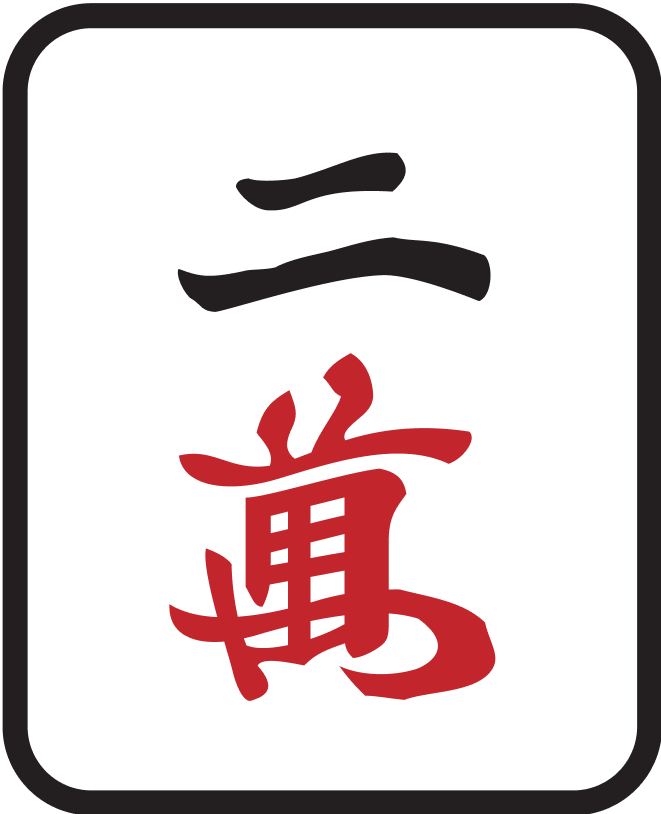
- You’re hoping opponents think “It’s One-Chance, so it’s safe” and discard into you
Since Suji and One-Chance are popular defensive references, offensive exploitation is naturally possible.
Practical Application of One-Chance
Tiered Decision Making
Use One-Chance in push-fold decisions with this tiered thinking:
| Safety | Status | Decision |
|---|---|---|
| High | Genbutsu, Suji + No-Chance | Discard |
| Med-Hi | Suji alone, No-Chance alone | Situational discard |
| Medium | One-Chance | Judge by points and turn |
| Med-Lo | One-Chance + Suji | Borderline |
| Low | Non-suji middle tiles | Generally fold |
Decision Examples
Push Decision:
- You’re tenpai with high value
- Point situation requires it
- Early in the round (before turn 10)
- One-Chance + Suji combination
Fold Decision:
- You’re 1-shanten or worse
- Opponent’s riichi looks strong
- Late game (turn 15+)
- One-Chance alone with no other information
Related Terms
- No-Chance: 4-tiles-visible state
- Suji: Reading safe tiles from riichi player’s discards
- Kabe (Wall): General term for visibility-based defense
- Oshi-Hiki (Push-Fold): Decision to push or fold
- Anzen-hai (Safe tile): General term for safe tiles
Summary
One-Chance refers to a state where 3 of a tile are visible. While not a guaranteed safe tile, it can be judged as safer than tiles with no information.
It’s particularly useful for push-fold decisions, and combining it with Suji enables more accurate reads.
However, don’t forget that safety decreases in the late game, and always make appropriate decisions based on the situation.
When you deal in, treat it as a learning opportunity and apply that knowledge going forward.