Introduction
When you want to fold but have no safe tiles, Suji (筋) becomes your guiding principle.
Suji is a fundamental defensive concept in mahjong, used primarily to find relatively safe tiles when an opponent declares riichi. By understanding Suji, you can identify playable tiles even when you don’t have any guaranteed safe tiles (genbutsu).
What is Suji?
Suji (筋) is a defensive theory for identifying tiles that won’t deal into a ryanmen (two-sided) wait based on an opponent’s discards.
Denying Ryanmen Waits
The core concept of Suji is finding tiles that won’t hit a ryanmen wait.
In mahjong, numbered tiles (manzu, pinzu, souzu) can form sequences of three consecutive tiles, creating various wait patterns (ryanmen, kanchan, penchan, etc.).
A ryanmen wait refers to a two-sided wait like waiting for  or
or  when holding
 (called “1-4 wait” or ichi-suū machi).
How Suji Works: Using Furiten
Suji is based on the Furiten rule.
Furiten Basics
- If an opponent has discarded a specific tile (e.g., ), they cannot ron on (it would be furiten)
- This furiten rule applies to the other tile in a ryanmen wait as well
- If has been discarded, they also cannot ron on the “1-4 wait” or the “4-7 wait”
The Logic Behind Suji
Therefore, if you have or in your hand and the opponent has discarded , these tiles won’t deal into any ryanmen wait against that player, making them relatively safe to discard.
This is the essence of Suji thinking.
The Three Suji Patterns
Numbered tiles are grouped into three sets based on ryanmen wait structures:
| Suji Pattern | Japanese Reading | Example (Manzu) |
|---|---|---|
| 1・4・7 | Ichi-Sū-Chī | |
| 2・5・8 | Ryan-Ū-Pā |   |
| 3・6・9 | San-Rō-Kyū |   |
By memorizing these three patterns, you can instantly determine which tiles become safe when certain tiles are discarded.
Determining Safe Tiles
The safety implications differ depending on whether middle tiles (4, 5, 6) or edge tiles (1, 2, 3, 7, 8, 9) are discarded.
When Middle Tiles (4, 5, 6) Are Discarded
When a middle tile (e.g., ) is discarded, the outer tiles in that suji (e.g., and ) become safe from ryanmen waits.
Examples:
- discarded → and are safe
- discarded → and are safe
- discarded → and are safe
When Edge Tiles (1, 2, 3, 7, 8, 9) Are Discarded
If only is discarded, is NOT safe just because it’s in the same suji.
Only when both outer tiles of a suji (e.g., and ) are discarded does the middle tile (e.g., ) become safe from ryanmen waits.
Examples:
- Only discarded → is NOT safe
- Both and discarded → is safe
Suji Examples
Example 1: Middle Tile Discarded
The riichi player has discarded  in their discard pile.
In this case,  and
and  (suji of ) won’t deal into a ryanmen wait, making them relatively safe to discard.
Logic:
- 2-5 wait → is furiten, so can’t ron on
- 5-8 wait → is furiten, so can’t ron on
Example 2: Both Edge Tiles Discarded
The riichi player has discarded both  and
and  in their discard pile.
In this case,  won’t deal into a ryanmen wait, making it relatively safe to discard.
Logic:
- 1-4 wait → is furiten, so can’t ron on
- 4-7 wait → is furiten, so can’t ron on
Example 3: Only One Edge Tile Discarded
The riichi player has only discarded (no ).
In this case, could deal into a 4-7 ryanmen wait (), so it’s NOT safe.
Suji Limitations and Warnings
Suji helps improve your defense and can reduce your deal-in rate, but keep these points in mind:
1. Only Denies Ryanmen Waits
Suji thinking only identifies tiles that won’t deal into ryanmen waits.
2. Other Wait Types Can Still Hit
Even suji tiles can deal in if the opponent is waiting with:
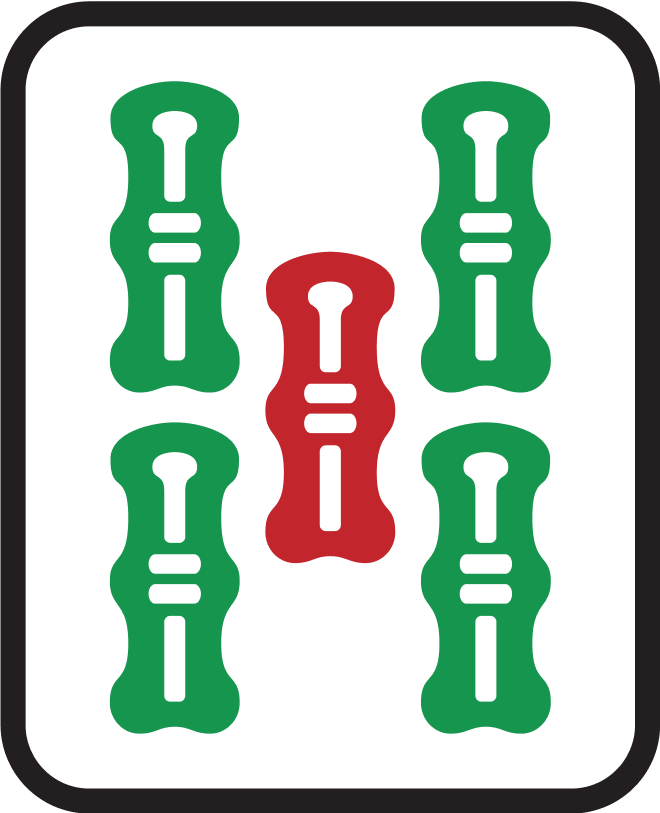
- Kanchan wait: Waiting for
 with
with 
- Penchan wait: Waiting for with
- Shanpon wait: Waiting for
 or
or  with
with - Tanki wait: Single tile wait
Suji Trap Example:
You see  discarded and think
  is safe, but the opponent is waiting with
  kanchan for .
3. Not 100% Safe
Suji tiles are only “relatively safe” — they are NOT guaranteed safe tiles like genbutsu (tiles the opponent has discarded themselves).
Combining Suji with Kabe
Increasing Safety Further
When looking for safe tiles, combining Suji with Kabe (wall) concepts like One-Chance and No-Chance increases accuracy.
Combined Reading Example:
- has been discarded (Suji)
- AND all four
 are visible (No-Chance)
 - → is safe from both 2-5 ryanmen wait AND 5-8 ryanmen wait
For more details, see the “No-Chance” article.
Analogy: Highway Exit Signs
Think of Suji like highway exit signs.
If you know a certain interchange (e.g., ) is closed (discarded), then people whose final destination was that interchange (those waiting for or in a ryanmen wait) won’t be heading there anymore.
Therefore, the areas near those exits ( and ) are relatively safe to pass through.
However, travelers with different destinations (kanchan or shanpon waits) might still be waiting on alternate routes, so complete safety is never guaranteed.
Practical Application of Suji
Tiered Safety Assessment
When defending, consider safety levels like this:
| Safety | Status | Decision |
|---|---|---|
| Highest | Genbutsu (discarded tile) | Discard |
| High | Suji + No-Chance | Discard |
| Med-Hi | Suji alone | Situational |
| Medium | One-Chance | Careful consideration |
| Low | Non-suji middle tiles | Generally fold |
| Lowest | Non-suji dora/near 1・9 | Definitely fold |
When to Prioritize Suji
Suji is especially useful in these situations:
- No genbutsu available against opponent’s riichi
- Your hand is far from ready and you choose to fold
- Late game with few tiles remaining, requiring careful play
- Point situation where dealing in would be devastating
Learning Suji Step by Step
For beginners, learn Suji in this order:
-
Start with middle tiles (4, 5, 6)
- discarded → and are safe
- discarded → and are safe
- discarded → and are safe
-
Memorize the three patterns
- 1・4・7 (Ichi-Sū-Chī)
- 2・5・8 (Ryan-Ū-Pā)
- 3・6・9 (San-Rō-Kyū)
-
Edge patterns come later
- Middle tile is only safe when BOTH edges are discarded
Related Terms
- No-Chance: Defense using 4 visible tiles
- One-Chance: Defense using 3 visible tiles
- Kabe (Wall): General term for visibility-based defense
- Furiten: Unable to ron when your discard is in your wait
- Anzen-hai (Safe tile): General term for safe tiles
- Genbutsu: 100% safe tiles
Summary
Suji is a defensive technique that uses opponents’ discards and the furiten rule to find tiles that are relatively safe from ryanmen waits.
By understanding and applying Suji, you can respond calmly even when facing riichi without any genbutsu, identifying safer tiles to discard.
However, remember that Suji only denies ryanmen waits — you can still deal into kanchan, penchan, and other wait types. Always make appropriate decisions based on the situation.
Combining Suji with No-Chance and One-Chance enables even more precise defensive play.